Arcemu on Linux on Raspberry Pi 4b
Like I promised in my previous post, I’ve tried to build and run Arcemu with Linux on my Raspberry device.
I had to switch to Armbian Jammy (Ubuntu based) from the Diet PI (Debian based) however since Diet Pi unfortunately doesn’t have libmysqlclient21 and I didn’t want to install it from other sources, to make things simple.
Either way, I’m happy to report that, just like I expected, I could build it and it works fine as it is clearly visible on the picture below

This verifies that Arcemu can build and run on a real Arm based device, not just on a qemu emulated one.
Raspberry PI 4 model B
I really wanted to try an ARM based SBC so yesterday I ordered and today got a Raspberry PI 4 model B, with a dual-fan armor case, since I’m definitely going to push it to the limit.
I chose RPI 4 because it’s more mature, has more accessories, and I know that it can run Windows for ARM, which I’d like to try on it.
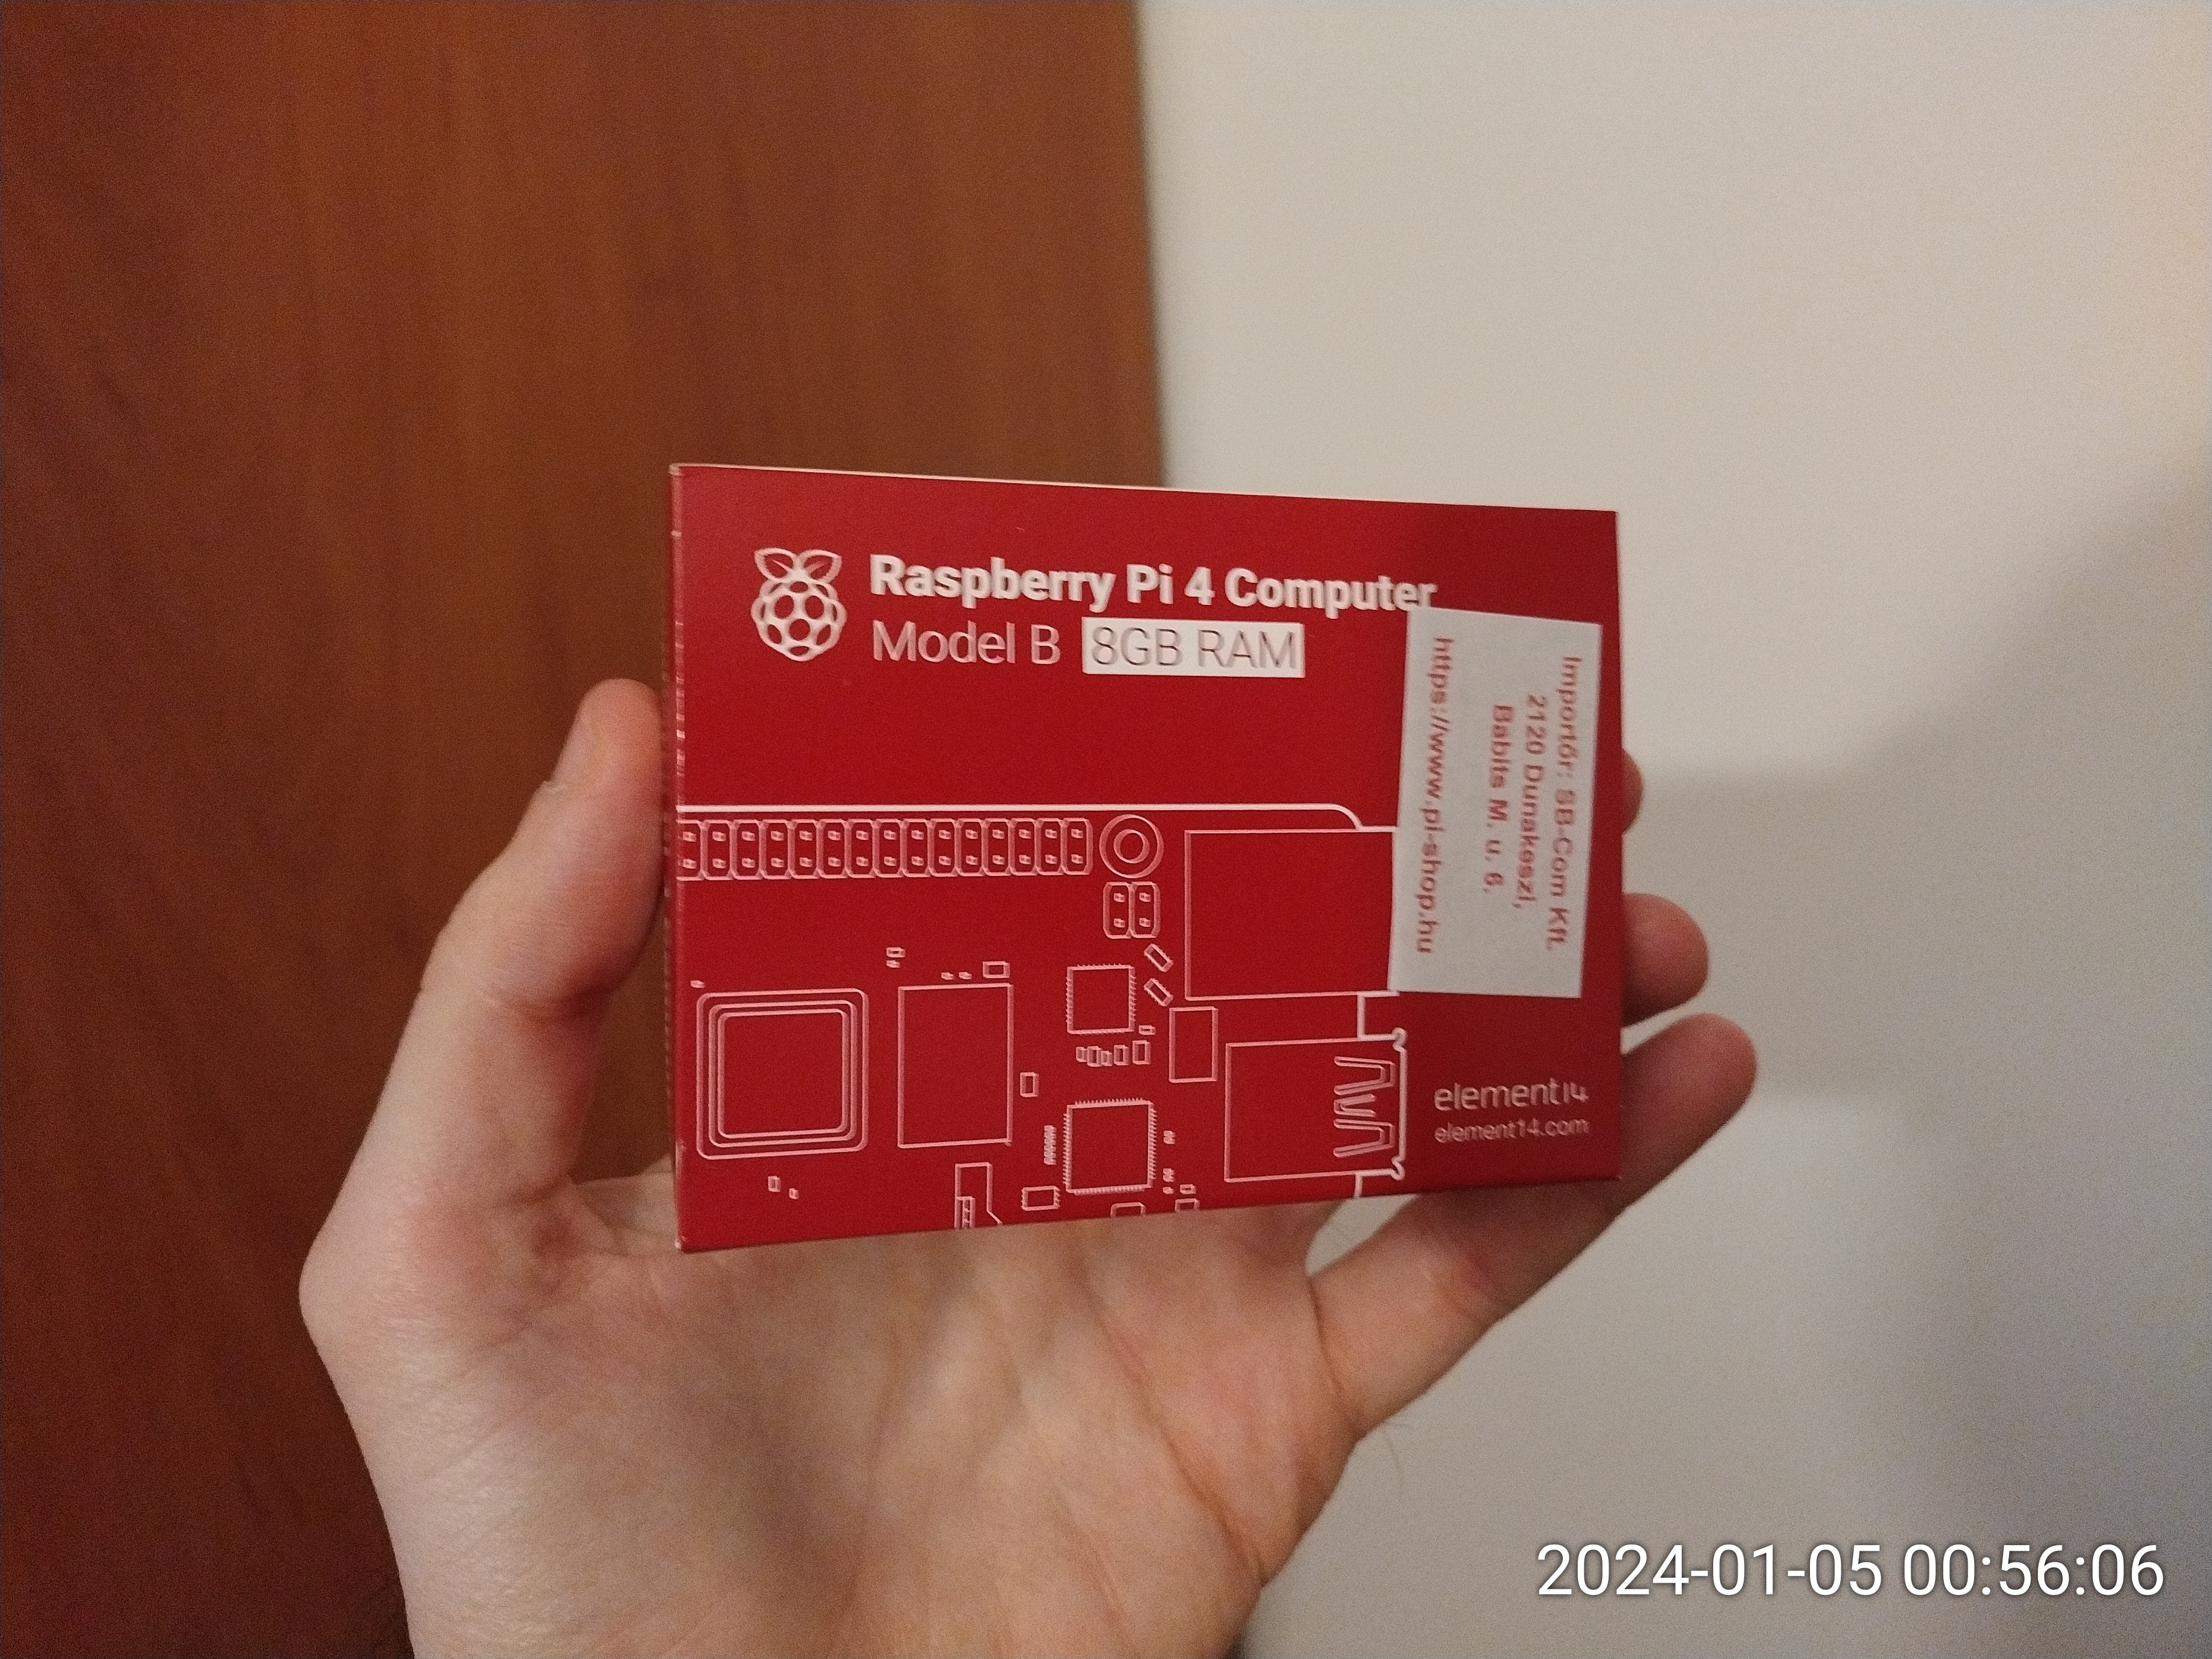


I think it looks cool in this case.
More importantly I’ve already installed DietPi on it.

From the installation I can already see that it’s faster than the RISC V devices I’ve tried, but I can’t wait to see how it performs during load (while building and then running Arcemu for example).
Arcemu now has initial ARM64/aarch64 support on Linux
In previous posts I described how to set up and run emulated ARM64/aarch64 system environments to run ARM64/aarch64 OSes.
The point of setting up Linux aarch64 environment was to make Arcemu build and run on that platform.
I am happy to report that now it does in this virtual aarch64 Ubuntu 22.04 environment.
As soon as I get my hands on a real device (soon) I will verify this on that too.
Until then here’s a screenshot:

ARM64/aarch64 Ubuntu 22.04 in QEMU
I have an amd64 based PC and I wanted to set up an ARM based Ubuntu 22.04 so that I can implement ARM64/aarch64 support in Arcemu, a pet project of mine.
For this obviously one needs
- A virtual machine / emulator that can run aarch64 code on the amd64 platform
- An OS image to boot
I found a short guide that was supposed to help me with this on Ubuntu’s wiki.
It basically describes how you can use QEMU system emulator to emulate an ARM64 system and boot an Ubuntu cloud image with it.
Unfortunately it wasn’t enough because
- It required root, but I wanted it to run as a simple unprivileged user
- I couldn’t log in after boot
So I started digging, and as it turned out I you have to seed cloudinit with parameters when first booting to create a new user, and also had to pass some different parameters to QEMU.
This post will describe all the steps required to make this work.
Download dependencies
Install QEMU for Arm emulation, and cloud image utils:
apt-get install qemu-system-arm qemu-efi cloud-image-utils
Grab Ubuntu 22.04 for ARM cloud image:
wget http://cloud-images.ubuntu.com/jammy/current/jammy-server-cloudimg-arm64.img
Copy the ARM UEFI for the virtual machine:
cp -v /usr/share/qemu-efi-aarch64/QEMU_EFI.fd .
Prepare the cloud image
Resize the image so we have some more free space after boot:
qemu-img resize jammy-server-cloudimg-arm64.img +20G
Prepare for first boot
Now we need to create the data for cloudinit so it creates a new user when first booting.
First we create a password, with the mkpasswd command. It will ask you to type a password and print the encrypted version of it that will have to be passed to cloud-init.
mkpasswd --method=SHA-512 --rounds=4096
Create the configuration file for cloud-init: Create a text file cloud.yml with the following contents:
users:
  - name: USER
    lock_passwd: false
    passwd: Password generated by mkpasswd
    sudo: ['ALL=(ALL) NOPASSWD:ALL']
    groups: sudo
    shell: /bin/bash
Obviously where it says “Password generated by mkpasswd” you should paste the password created in the previous step.
This instructs cloud-init to
- Create a new user with the name USER. You can use whatever username you’d like
- Unlock password login for the user (Important, because by default this is locked!)
- Sets the generated password
- Allows sudo without entering the password
- Sets the shell to be bash
Having done so we create a virtual disk from this yaml:
cloud-localds --disk-format qcow2 cloud.img cloud.yml
The output file cloud.img is a virtual disk that needs to be mounted into the virtual machine.
Boot the virtual environment
Now we’re ready to boot the virtual / emulated ARM system:
qemu-system-aarch64 \
-m 4096 \
-smp 5 -cpu cortex-a57 -M virt \
-nographic \
-bios QEMU_EFI.fd \
-device virtio-net-device,netdev=eth0 -netdev user,id=eth0,hostfwd=tcp::2222-:22 \
-drive if=none,file=jammy-server-cloudimg-arm64.img,id=hd0 -device virtio-blk-device,drive=hd0 \
-drive if=none,id=cloud,file=cloud.img -device virtio-blk-device,drive=cloud
A little explanation for the parameters here:
-m 4096Allocates 4096 MB of RAM to the virtual machine.-smp 5Allocates 5 virtual CPUs to the virtual machine.-cpu cortex-a57Emulate a cortex-a57 CPU-M virtUse the “generic virtual platform” that is we’re not emulating any particular real hardware. This is commonly used for VMs-nographicWe don’t need the QEMU GUI-bios QEMU_EFI.fdThe UEFI BIOS file-device virtio-net-device,netdev=eth0 -netdev user,id=eth0,hostfwd=tcp::2222-:22We use a usermode emulated network device and forward the virtual machine’s port 22 to the host’s port 22 (so we can SSH)-drive if=none,file=jammy-server-cloudimg-arm64.img,id=hd0 -device virtio-blk-device,drive=hd0This is just the cloud image that we downloaded and prepared.-drive if=none,id=cloud,file=cloud.img -device virtio-blk-device,drive=cloudThis is the cloud-init virtual disk which only needs to be attached on first boot.
After first boot
You can log in to the virtual machine with the generated user / password and do whatever you wish.
If you want to use SSH as well you need to set up the SSH keys or enable password login. Then you can just ssh via the forwarded port:
ssh -p 2222 USER@localhost
Where USER is the username you typed into the cloud.yaml file earlier.
Milk-V Mars
In previous posts I’ve written about what the RISC V ISA is and why I think it to be important, and that I’ve ordered 2 Single Board Computers (SBC) so that I can play around with it.
This post is about the second, and much more powerful SBC I ordered, and got recently: Milk-V Mars


It’s most important features (for me) are the following:
- StarFive JH7110 SoC with a Quad core 64 bit RISC V 1,5 Ghz SiFive U74 CPU
- 8 GB LPDDR4 RAM
- 1x MicroSD slot
- 1x HDMI output
- 3x USB3 and 1x USB2 ports
- 1x RJ45 Gigabit Ethernet port
- 1x USB C port for power
Unfortunately it has no embedded Wifi or Bluetooth support 😦
However at least it’s form factor is the same as the Raspberry Pi 3b’s so it fits into it’s case even if not perfectly:


You can find the official documentation on Milk-V’s site.
The default OS image can be downloaded from Github. It is a Debian Bookworm with custom drivers, and Gnome 3 GUI, but it’s problematic at least:
- After startup my Mars overheated and froze
- The packages cannot be updated because it would ruin the factory customizations
So I cannot say that I’d recommend that image, but fortunately there’s another option that suits my needs better anyways. There’s a DietPi port for the StarFive SoC platform.
Under DietPi neofetch reports the system as a StarFive VisionFive V2, so don’t be surprised by that, however at least it also wishes everyone a Merry Christmas on login.


Arcemu on the MangoPi MQ Pro
I guess it shouldn’t be so surprising after my previous posts but I could start up and play on Arcemu on my MangoPi MQ Pro device.
As it was obviously never meant for building software or hosting an MMO server I built Arcemu in a qemu emulated environment with 5 threads which was even with CPU emulation was faster than building on the device would have been.
Nevertheless, after copying the build output to the device, and a painfully slow startup I could connect, log in, and get ingame.
So now I can officially say that Arcemu runs on Armbian 23.08 on a real RISC V based device not just in qemu:

So now we can say the RISC V revolution has really begun! Even Arcemu is part of it’s software ecosystem! 🙂
Arcemu now has initial support for 64 bit RISC V architecture
After several hours of work and multiple commits Arcemu now has initial support for 64 bit RISC V architecture.
This means that it can now be compiled and it works on riscv64 Ubuntu 22.04. At least in the qemu emulated environment anyways.
You can set up the platform by following the booting instructions in this document.
Here’s a screenshot of Arcemu running:

The screenshot shows Virtualbox running on x86-64 Windows 10 hosting an x86-64 Ubuntu 22.04 virtual machine which runs qemu that is emulating RISC V to run the riscv64 Ubuntu 22.04 which is running Arcemu.
undefined reference to `getentropy’
I was building software for an older target platform (Ubuntu 16.04 Xenial), when I got this one.
After some research I’ve figured that as the name suggests this call simply returns some random bytes, and the error occurs because the target platform has an older GLIBC version (2.23) than necessary (2.25) for this system call to be available.
The solution in my case was simply modifying the header of the software before re-building as it had alternative implementations for the call that was using getentropy. Had this not been the case I could have just emulated the call…
CMake Error: CMake can not determine linker language for target
This is yet another error message that can be quite misleading. In my case it was caused by a simple typo.
I wrote:
ADD_LIBRARY( yadayada STATIC ${yadayada_source} )
…instead of:
ADD_LIBRARY( yadayada STATIC ${yadayada_sources} )
Which means that accidentally I was trying to get CMake to generate a build solution for linking… nothing?
How to handle Heritrix stale file handle exception
Heritrix is the Internet Archive-s web archival software, essentially a web crawling bot that takes a list of web sites, and saves them as ARC/WARC files in order to create a web archive like the one at archive.org.
Sometimes, like every other piece of software, it can produce error messages that might not be trivial.
One of them is the following:
Caused by: java.nio.file.FileSystemException: /path/to/file: Stale file handle
Other than the exception, you might face the following problems:
- The REST API returns empty responses for certain jobs, instead of their status.
- The web UI shows a long chain of exception (including Stale file handle FileSystemException as the root cause) when navigating to the job’s status page
Cause:
One possible cause this issue is that Heritrix has a file open that is on a remote filesystem, and during Heritrix’s run the connection to that filesystem broke due to a network outage for example.
Solution:
- Safely shut down Heritrix’s other jobs ( pause, checkpoint )
- Restart Heritrix
After the restart if you continue the jobs they will be fine, and the error is gone.
